DIY: How to Paint a Patterned Accent Wall
As a newlywed, I faced what many new brides must deal with after moving into their new husbands’ spaces — transforming a bachelor pad into a home. Without a pool table in the middle of the living room.
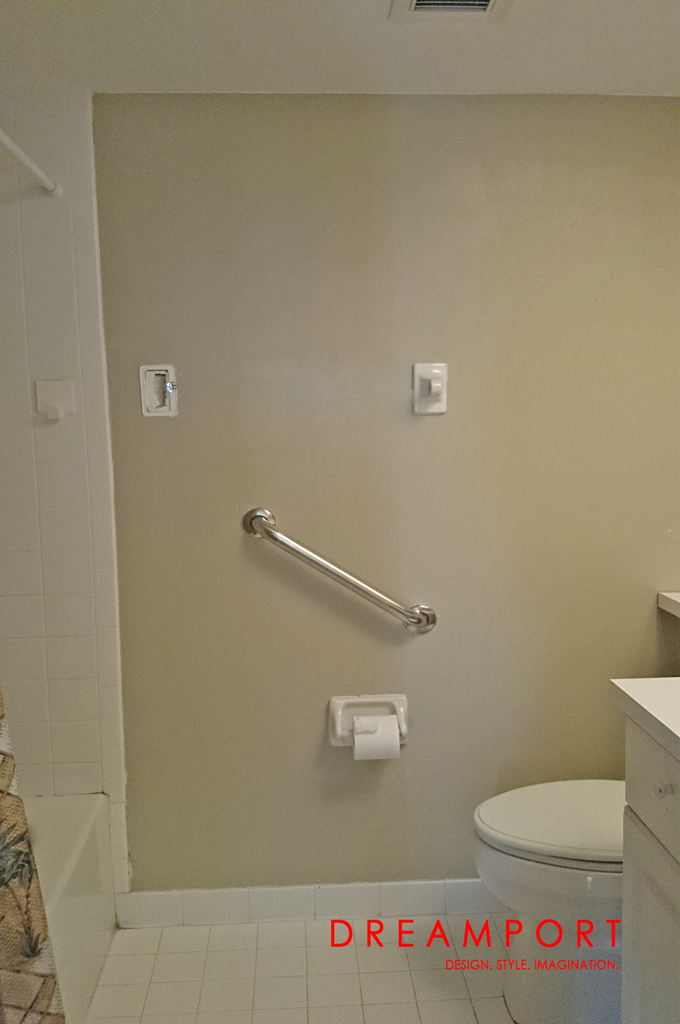
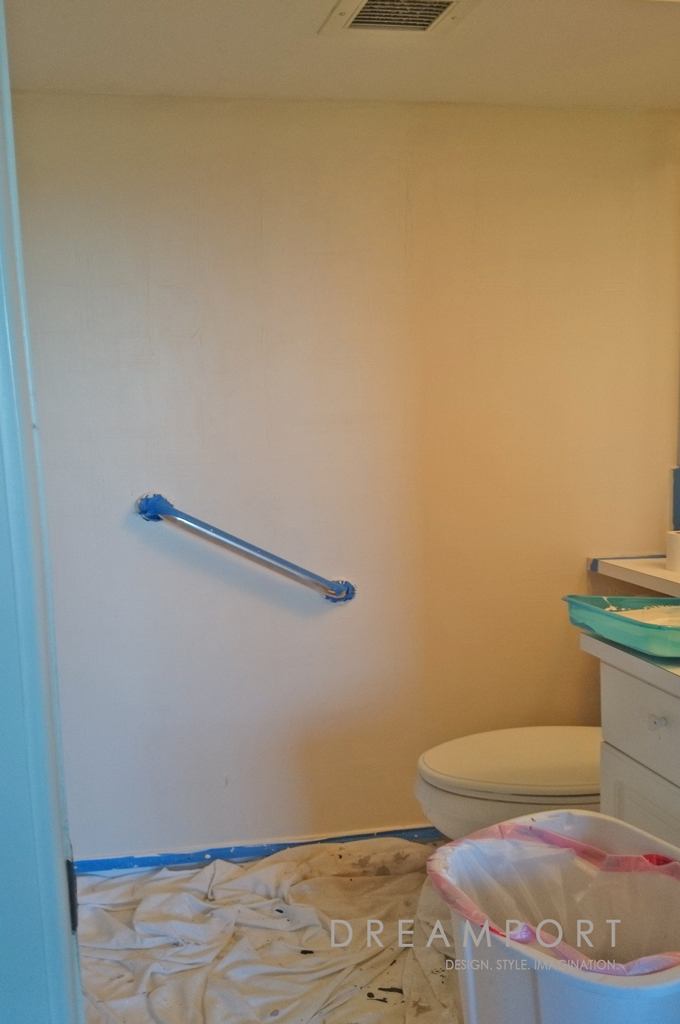
As you can see, our starting point of the master bedroom bathroom had been handled with bachelor care, i.e., “Yeah…that’s easy to fix. Later.” One of the towel rack handles had been broken off, electrical outlets needed to be updated into the 21st century and the mirrored medicine cabinet was literally falling out of the wall.
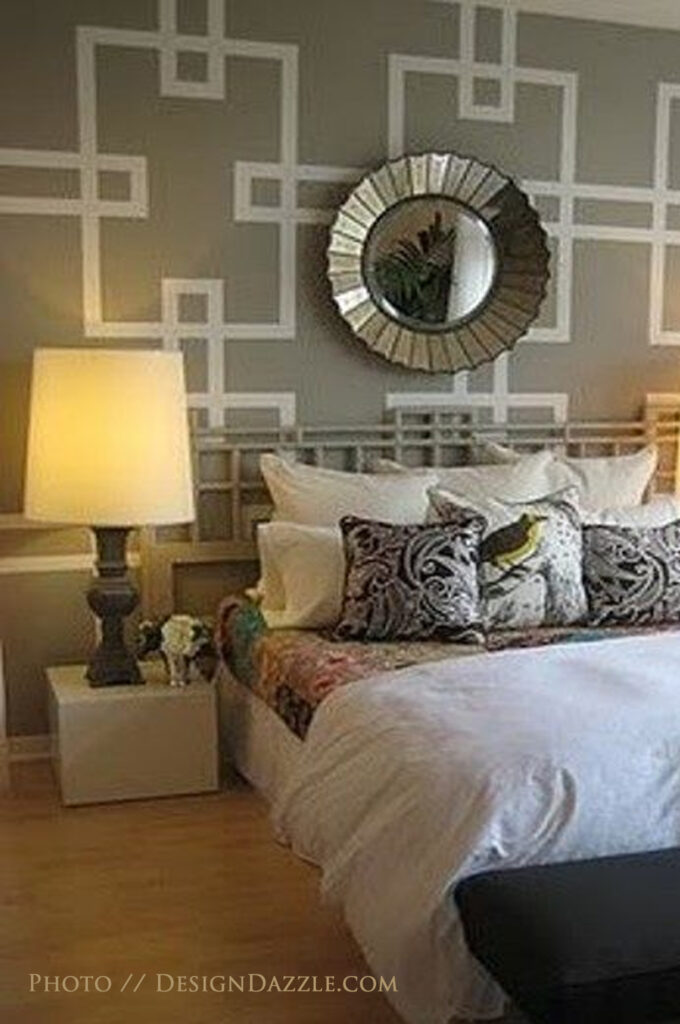
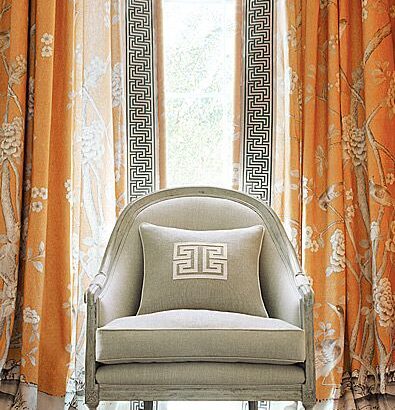
I wanted to create a bold, luxurious master bedroom for us, making sure to carry the sexy undertones into our en suite. To Pinterest I went! This gorgeous wall, pinned by DesignDazzle.com, would be my inspiration.
Step 1: Map out your wall.
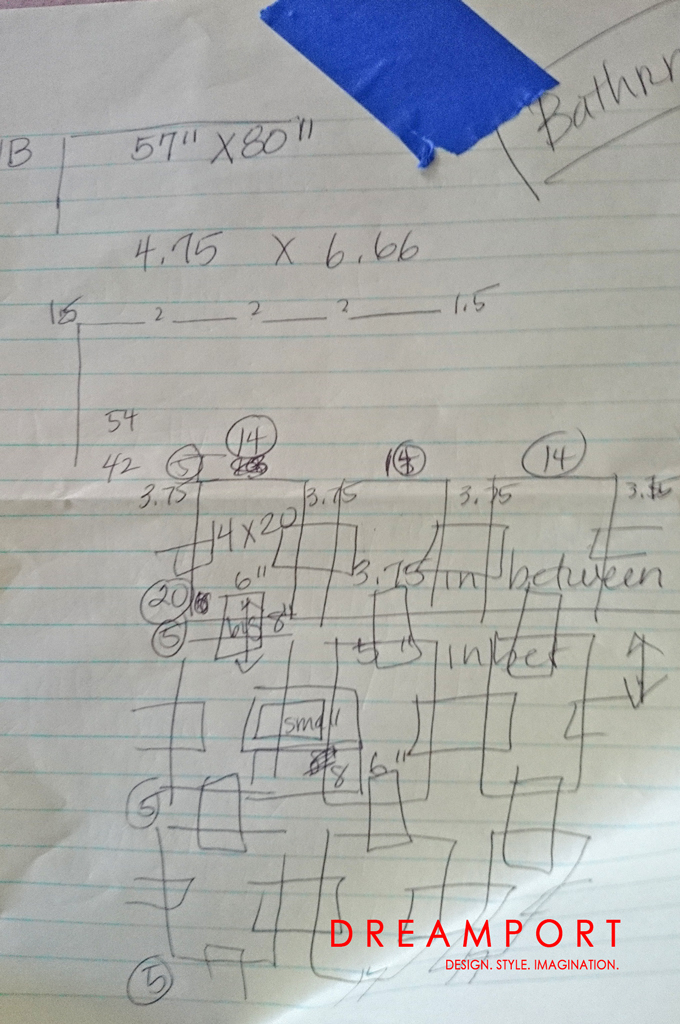
Measure the entire wall. Look to your inspiration for a game plan. I wanted three major columns vertically, so I began my calculations on a sketch pad with each column being 12 inches wide. I then added additional inches inbetween each column to evenly space them, and added inches at the left- and right-hand ends to evenly center the pattern on the wall overall. Repeat the same process for the length. It doesn’t matter if you sketch is drawn perfectly to scale, in crazy freehand such as mine, or drawn over the photo, what matters most is your numbers. As you start to mask out the pattern in painter’s tape, adjustments on the fly may be needed. Keep your calculator handy.
Step 2: Tapping the pattern.
First, prep your wall. Repair and fill any holes, dents, etc., as you can see, we totally removed the towel bar and kept the assistance handle. For one, any towel hanging on the rack would hang directly in the way of the assistance bar and, we plan to sell our condo in the next couple of years, living in the retirement hub of the world, Southwest Florida, an assistance bar would be considered a bathroom asset.
Next, paint the entire wall the color you wish the pattern itself to be; I used Pantone in Mood Indigo in Valspar Signature with an eggshell finish. Make sure this layer has a even and full coverage; let dry overnight. Using a ruler, pencil and Scotch Blue 1.5-inch Painter’s Tape, start applying your pattern. This the most tedious part of the project, as you MUST measure from every point to ensure the pattern is even vertically and horizontally. Believe me, if you are off even the slightest bit, it will be noticeable. Slow and steady wins the race here in taping out the pattern. I would tape out a square…take a break…stape out a square…take a break. I won’t lie, this took about four hours over the course of one evening to complete.
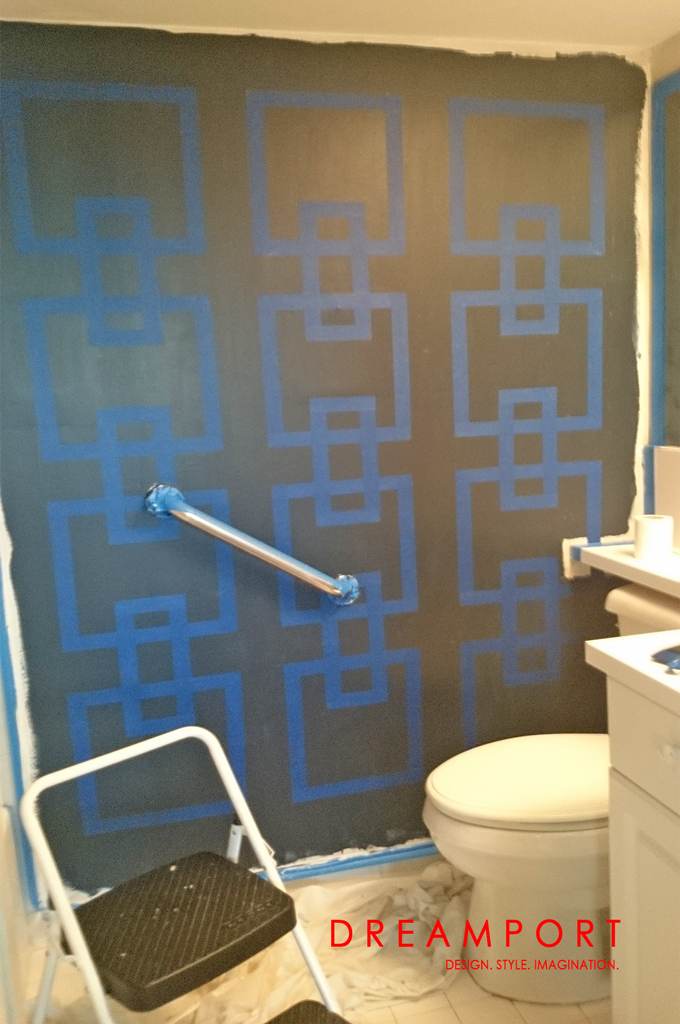
Step 3: Top coat.
After painstakingly applying the pattern, paint the entire wall your top coat color. And, yes, completely cover your pattern. I used Pantone in White Aparagus in Valspar Signature paint in an eggshell finish. Make sure to coat with full and even coverage, perhaps two coats, and let dry for two to three days. Yes, two to three DAYS.
Step 4: Peel and fix.
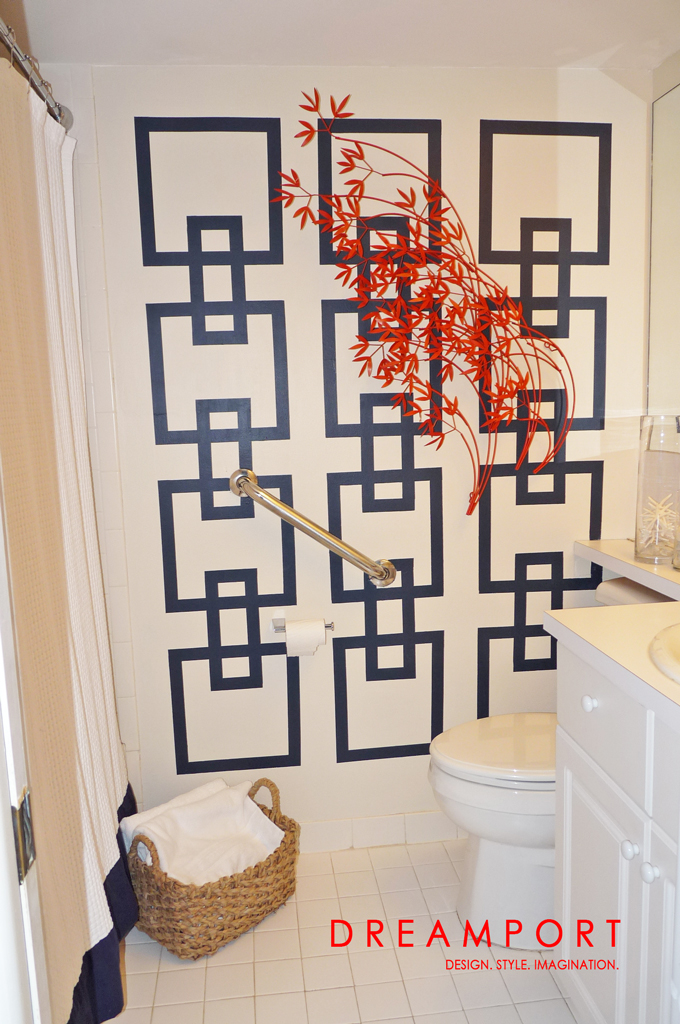
After letting your top coat completely dry, test the waters by gently peeling back the edge of one section of tape. When completely dry, the tape will peel off easily without smearing any paint, leaving a clean, crisp line. Continue to gently remove the tape, one piece at a time. After the whole pattern is revealed, some touch up will be necessary. I completed our wall by adding a contrasting decorative leaves I painted a burnt orange, which ties our accent wall and colors into our master bedroom rug.
Wall la! Le pattern!













I love this patterned accent wall. This is looking beautiful. Thanks for sharing this post.
Thank you! Thanks for visiting!