


DIY: Disney Enchanted Tiki Version of Kate Spade’s Tiki Bar Handbag
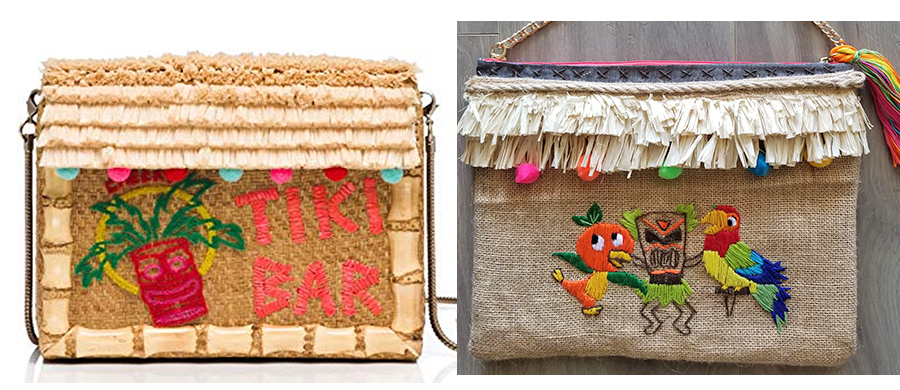
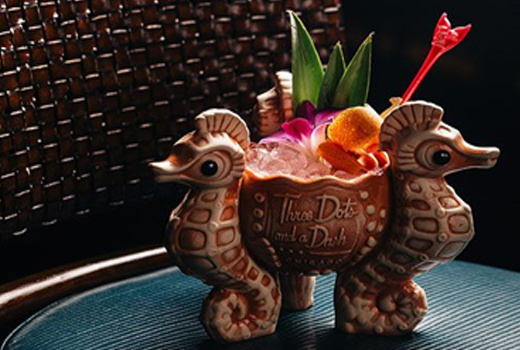
At DREAMPORT, we’re all about TIKI! When, I saw Kate Spade’s Tiki Bar handbag, I FLIPPED OUT! Especially over the price ($400+, even on eBay).
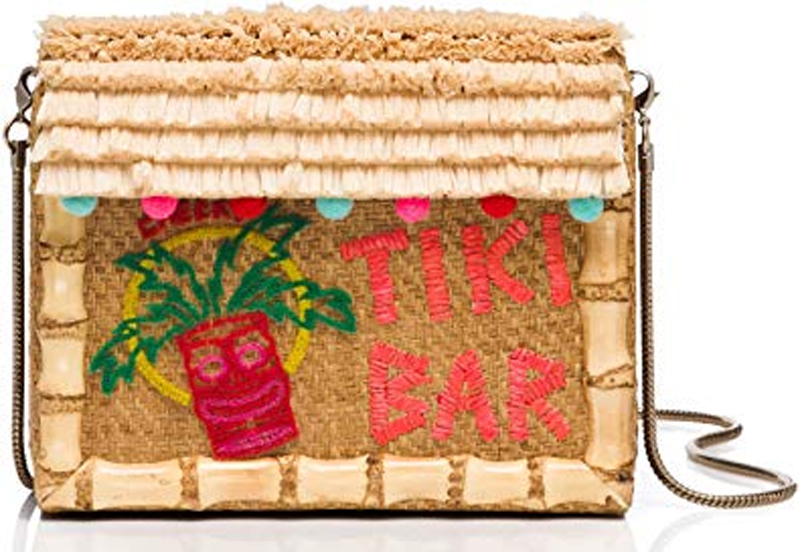
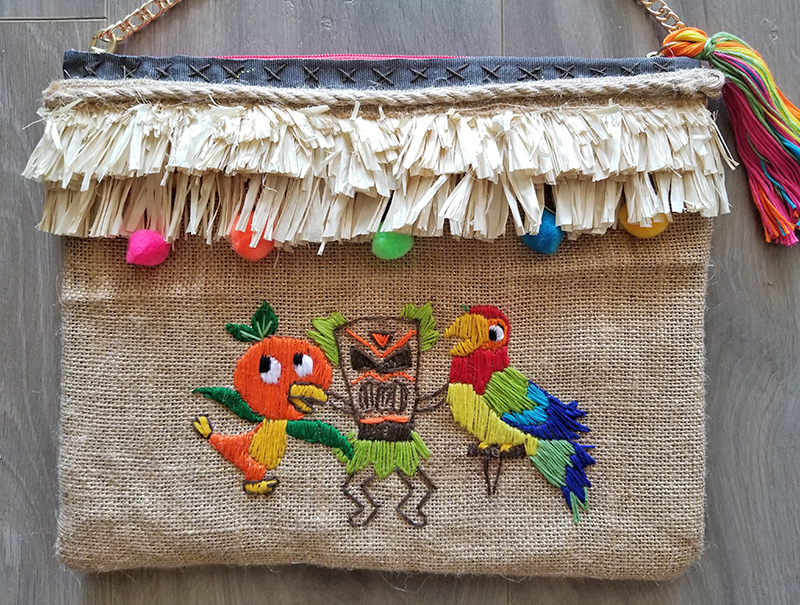
That’s when I looked more closely, I thought—BOOM —DIY DISNEY VERSION! I could embroider classic Disney Enchanted Tiki Room graphics like the Little Orange Bird, tiki masks and one of the parrots. YES! Done. I got this.
In hind sight, in terms of gathering materials, this project was harder than I anticipated. I thought of using a cigar box as my foundation, except, I could not find a cigar box to save my life. I gathered my materials from the usual suspects: Michael’s Arts + Crafts, Joann’s Fabrics and Hobby Lobby.
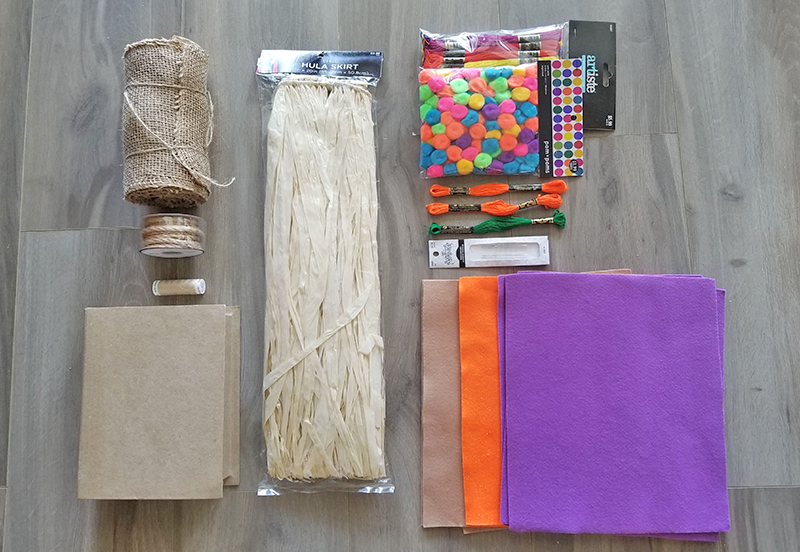
Since I couldn’t find a cigar box, I found this paper mache book box, purchased a child’s hula skirt to make the raffia tiki roof, felt to line the inside, burlap to use as the woven bamboo background, rope to use in place of the bamboo framing, needlepoint thread to embroider and multicolor poofs as the piece de resistance.
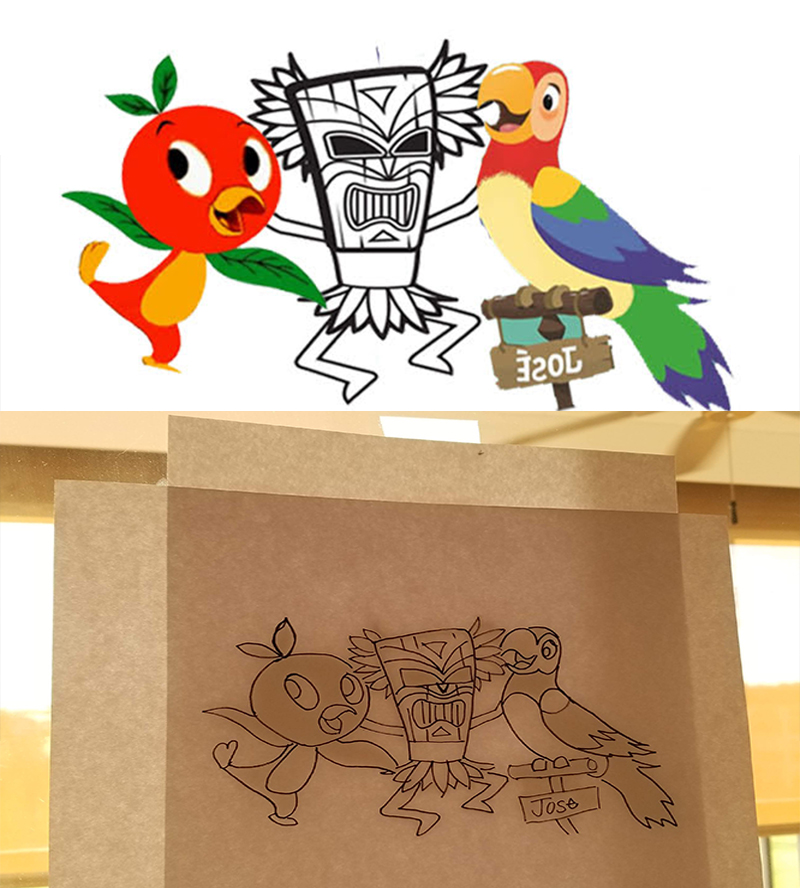
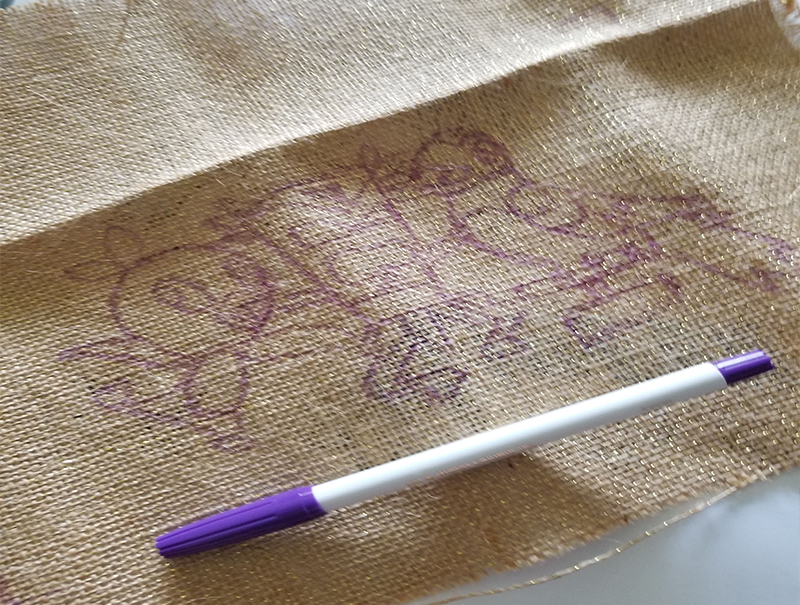
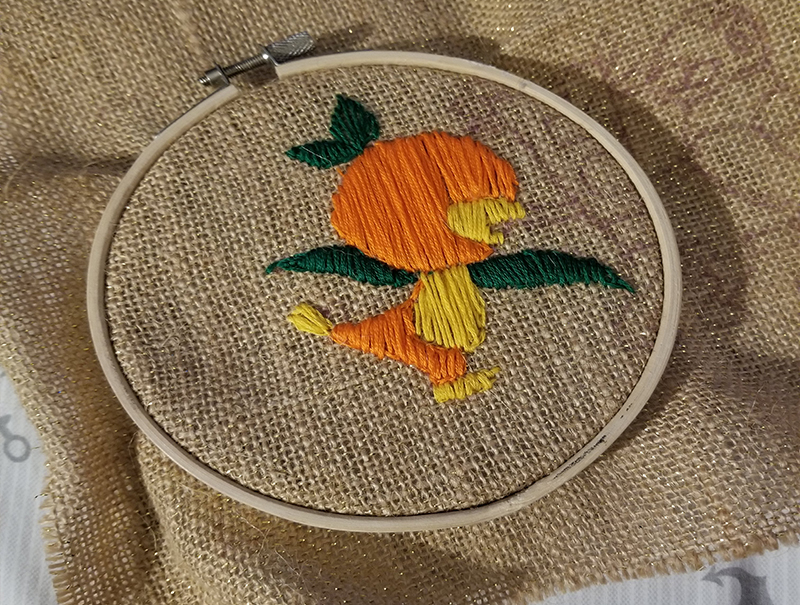
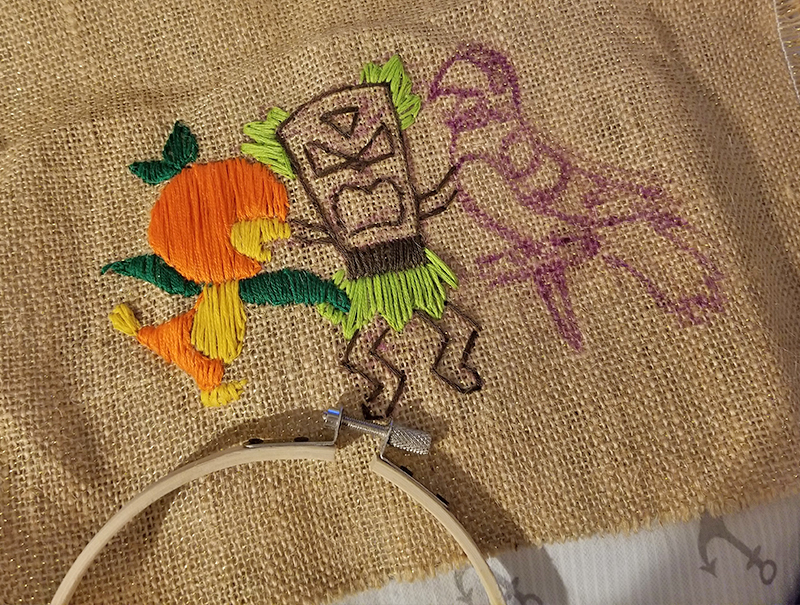
I began with the embroidery. I created an image in Photoshop of the Little Orange Bird, a Disney tiki parrot and general tiki man stock image. I then went old school to trace the image in outlines only by taping it to my sliding glass door. I originally was going to iron-transfer the image to the fabric to then embroider. That went all sorts of wrong due to the burlap fabric. I then, went back to Michael’s Arts + Crafts purchased a disappearing ink pen (they do exist!) and found even better burlap with hints of gold glitter. I then used the sliding glass door to transfer the image again on the fabric — basically drawing it on with the disappearing ink. I then embroidered my characters!
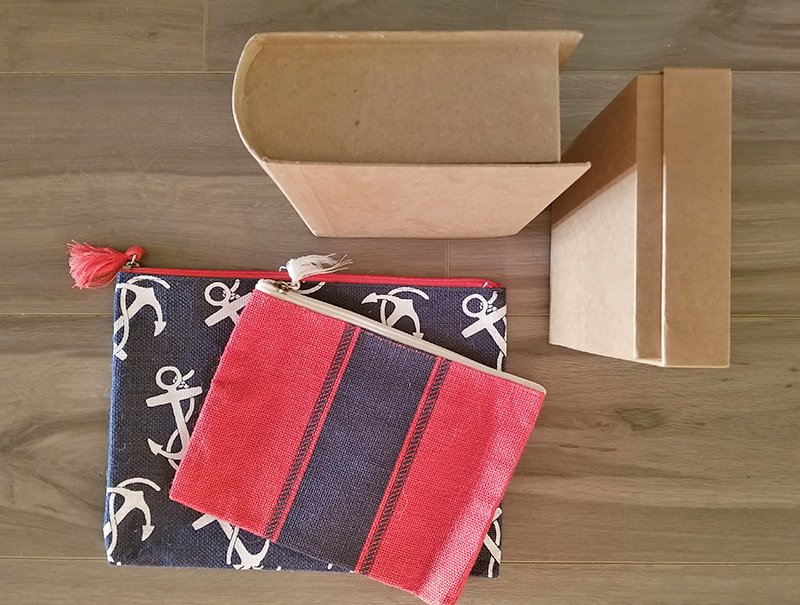
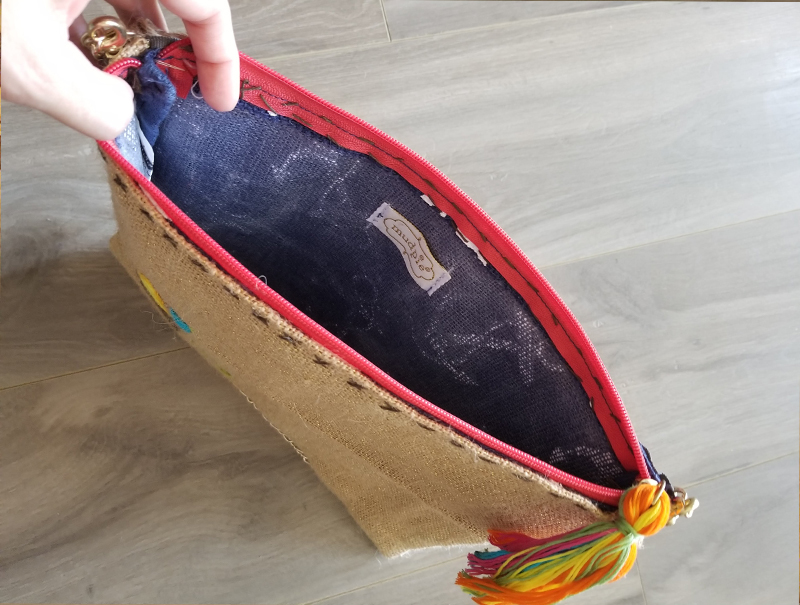
When it was time to start assembling, what to use for the base was still in question. As you can see, the book was too big, a gift box was too useless, but I thought back to a clutch version Kate Spade also produced of the Tiki Bar bag. BINGO! I found two zipped clutch bags that were perfect. I erred on the bigger side, knowing this bag would be used mainly at the theme parks.
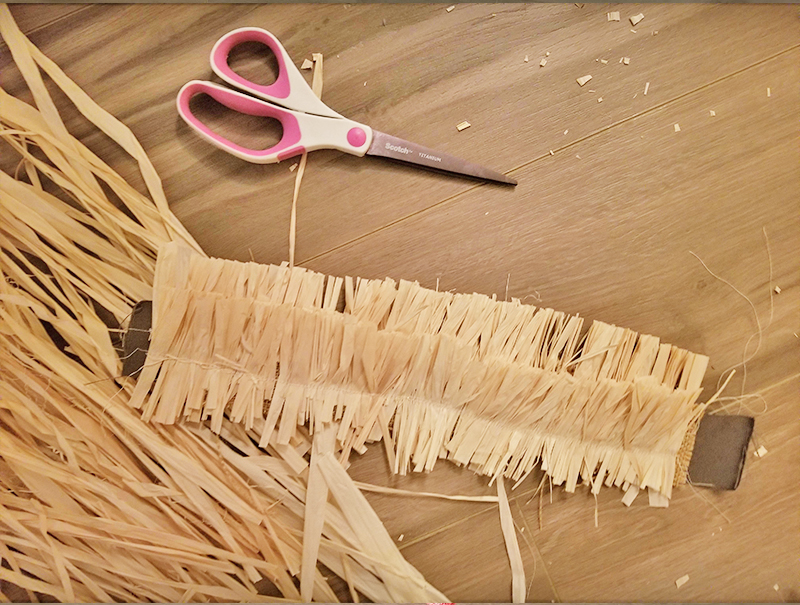
I used the child’s lula skirt for the tiki roof. I did one row and then added a second set back a half inch.
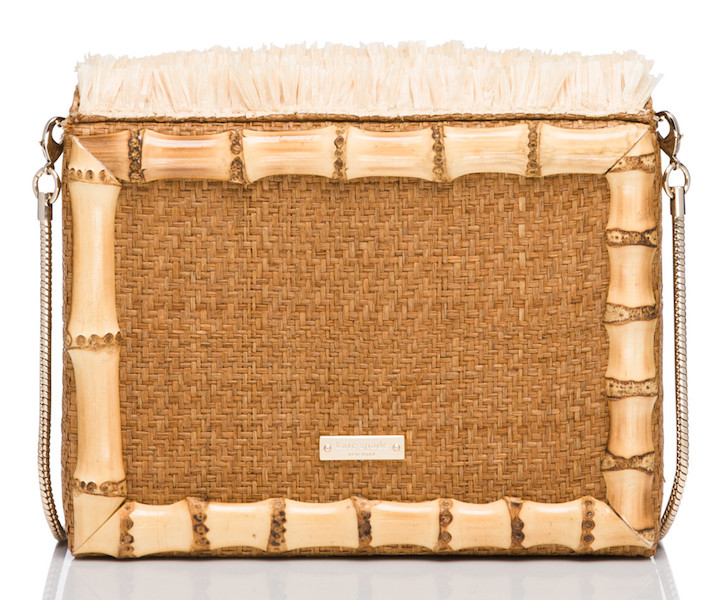
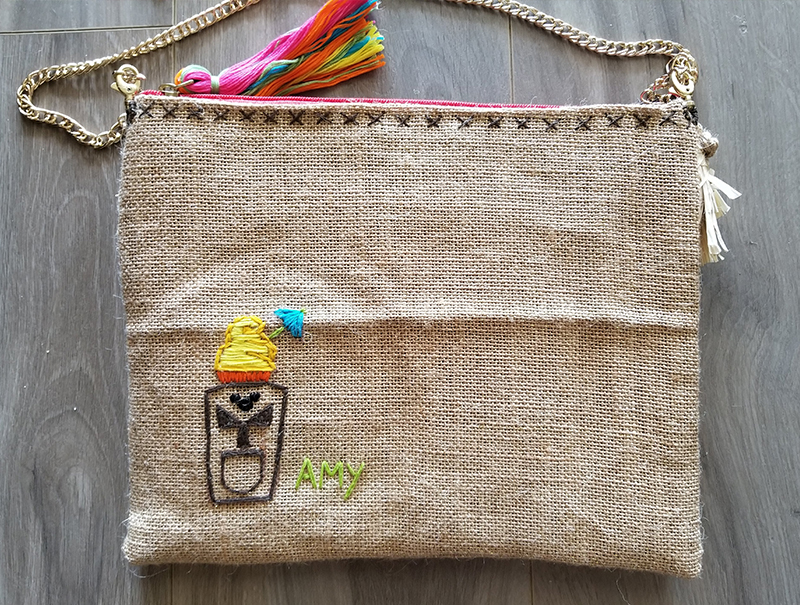
I even added a design on the back, along with my signature, as well as a removalable gold chain and added a new pull-tassle made up of the embroidery threads.
And, VOILA! What do you think?!
I have to say, I am really happy with the results!
In the end, this cost me roughly $25.00 and about 10 hours to craft.
If you’re attending Dapper Day at Walt Disney World this weekend, look for the bag—and me!
Joe and I will be in our finest tiki attire!